
Bad property photos can cost you time, money, and buyer interest. In New Zealand, 93% of buyers start their search online, and listings with professional-quality photos sell 32% faster and for NZ$3,000–NZ$11,000 more. Great visuals matter because buyers spend 80% of their time looking at photos, not descriptions. Here’s how to improve your property photos:
- Use virtual staging: Add digital furniture to make empty rooms more appealing.
- Fix lighting issues: Maximise natural light and use HDR for balanced exposure.
- Declutter spaces: Remove personal items and excess furniture to create a clean look.
- Edit photos smartly: Correct colours, balance light, and avoid over-editing.
- Improve composition: Use proper angles, framing, and camera height for better shots.
- Hire professionals: For premium results, consider professional photography services.
These steps help your photos stand out, attract more buyers, and lead to faster sales.
20 Real Estate Photography Hacks To Turn a Beginner into a PRO! [You need this]
Use Virtual Staging with Fast Virtual Staging
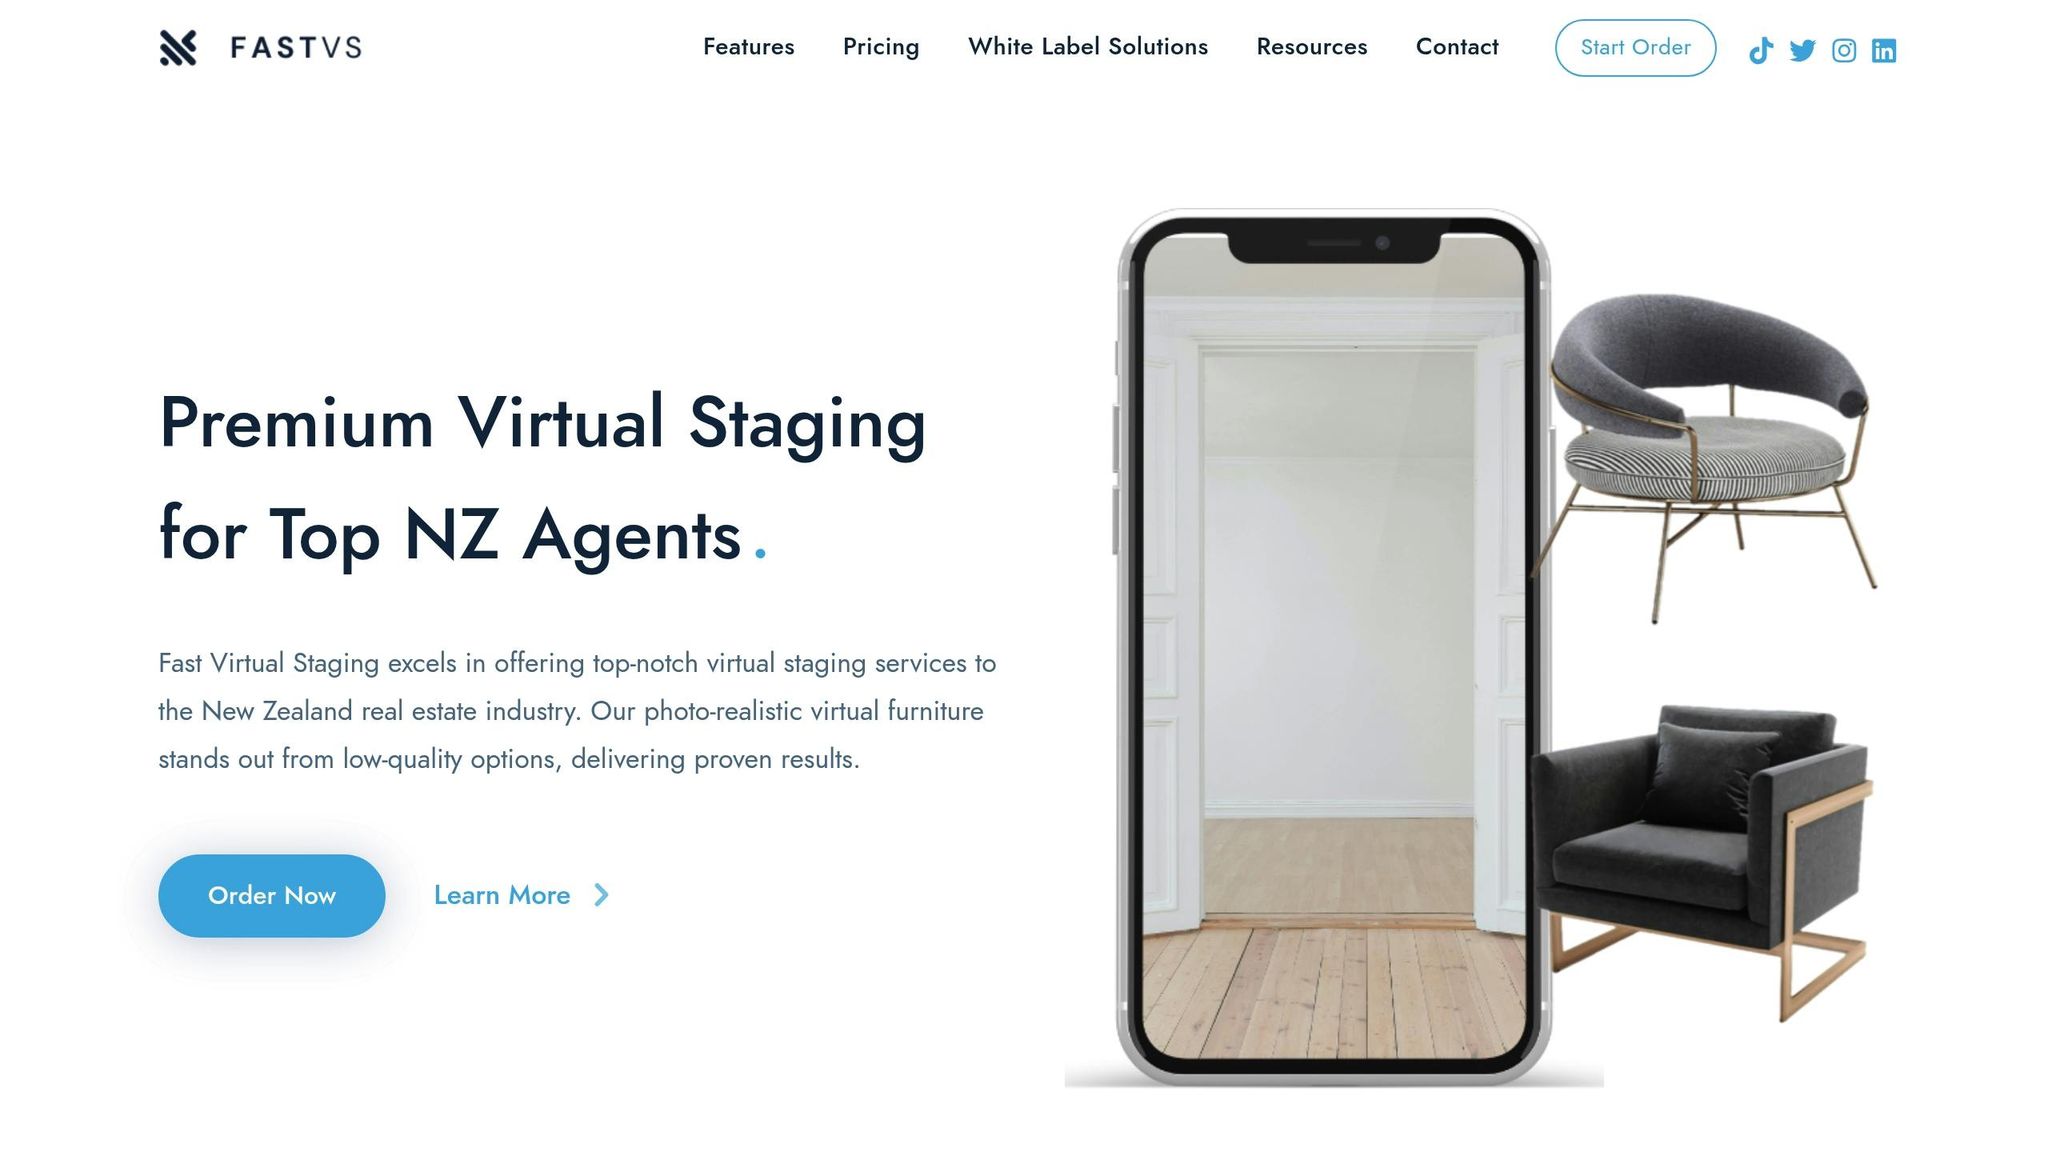
Empty rooms can make it harder for potential buyers to imagine a property’s potential. Virtual staging solves this problem by digitally adding furniture, décor, and accessories to create a warm, inviting atmosphere – without the hassle of physically furnishing the space.
What is Virtual Staging?
Virtual staging is a powerful tool that transforms property photos into visually appealing images. By digitally placing realistic furniture and décor, it helps buyers see how a space can be used and makes listings stand out online. This technique not only enhances a property’s appeal but also attracts more attention, leading to increased inquiries and showings.
Research shows that staged homes sell 5–23% above the list price, sell 88% faster, and receive significantly more online views. Additionally, 85% of potential buyers say that high-quality photos are the most important factor when browsing properties online.
Features of Fast Virtual Staging
Fast Virtual Staging specialises in creating photorealistic digital furniture renders tailored for New Zealand homes. The platform offers a variety of design styles, including Scandinavian minimalism, French Country charm, and Modern aesthetics. You can either specify your preferred look or let their team handle the styling for you.
What sets Fast Virtual Staging apart is its speed and reliability. They promise a 24-hour turnaround for residential orders, with most projects completed within 12–24 hours. At just NZ$35 per image, the service is an affordable alternative to traditional staging. Plus, it includes two free revisions and access to a personal account manager familiar with the New Zealand property market.
The service is versatile, catering to both residential and commercial properties. Real estate photographers can also use their white-label solutions to offer virtual staging services under their own brand.
"Adding virtual furniture to my property photographs always generates increased interest in my listings. I can choose my own style of furniture and turnaround times are fast without compromising quality."
- Jack Dangerfield, Real Estate Agent | Ray White
"Fast Virtual Staging provides consistently fast-turnaround and great quality virtual furniture for real estate listings. I’ve recommended to my industry colleagues and will continue to use their services in the future."
- Connor Pocock, Sales Associate | Ray White
To get the best results, ensure your original photos are sharp and focus on staging key areas like the living room, kitchen, and master bedroom. With 71% of buyers looking for move-in-ready homes, virtual staging often pays for itself through quicker sales and higher offers.
Once your virtual staging is complete, fine-tune the lighting and exposure to further enhance your property images.
Fix Lighting and Exposure Issues
Lighting can make or break property photos. For New Zealand buyers, bright and inviting spaces are a must. Proper lighting ensures your photos capture attention and leave a lasting impression.
Make the Most of Natural Light
The time of day can dramatically affect your photos. As Hayden Roulston explains: "Morning and late afternoon often provide the best lighting conditions, as the sun is low and the light softens shadows, offering a balanced and flattering illumination for both exterior and interior shots".
Take your property’s orientation into account. North-facing homes in New Zealand get different light patterns compared to south-facing ones, so plan your shoot to highlight each space when it looks its best. Overcast days can also work in your favour. The clouds act as a natural diffuser, softening shadows and creating even lighting, which is especially helpful for interiors.
Before you start shooting, open all curtains and blinds, clean the windows, and turn off overhead lights. This lets natural light take centre stage. Samantha Shannon Photography advises: "While it might seem counterintuitive, turn off any overhead lights or lamps before you photograph your holiday home… Your home will look light, airy, and inviting".
When natural light isn’t enough, it’s time to rely on the right equipment.
Use Equipment for Better Exposure
HDR (High Dynamic Range) photography is a game-changer for real estate images. It balances exposure, ensuring details in both bright windows and shadowed interiors are captured clearly.
A tripod is non-negotiable for sharp, professional shots. It’s especially useful in low-light conditions, allowing for longer exposures without any blur. Light meters can also be a lifesaver, helping you measure light levels accurately and adjust your settings for consistent results.
For tricky lighting, bounce flashes can brighten interiors without creating harsh shadows. This technique is particularly effective on overcast days when natural light might not be enough. In bright conditions, a neutral density filter can help manage excessive light, while reflectors and a wider aperture are great tools for balancing light and shadow on cloudy days.
Always shoot in RAW format rather than JPEG. RAW files preserve all the original colour data, giving you more flexibility during editing. You can fine-tune white balance, highlights, and shadows without losing image quality – perfect for handling the mixed lighting often found in property photography.
Start with Auto White Balance (AWB) as a guide, but switch to manual settings when dealing with multiple light sources. Poor white balance can distort colours and make rooms feel less welcoming.
With these lighting and exposure techniques, you’ll be well on your way to creating eye-catching property photos that highlight each space’s best features.
Declutter and Prepare the Space
Once you’ve nailed the lighting and exposure, it’s time to focus on the space itself. A clutter-free home is far more inviting and helps potential buyers in New Zealand imagine themselves living there. Clean, open spaces are key to creating that connection.
Start with the half rule: remove about 50% of the items in any room. This simple step can dramatically reduce visual clutter. Clear off surfaces, swap out personal photos for neutral artwork, and tidy up entryways and kids’ areas. Aim to keep only one to three items on display per surface. For example, kitchen counters should highlight the available space, not a lineup of appliances.
Personal items like family photos, children’s artwork, and awards should be stored away. While these items make a house a home, buyers need to picture their lives in the space, not yours.
Pay special attention to the hallway – it’s the first impression visitors get. Remove coats, shoes, pet items, and scattered mail to create an inviting, clutter-free entrance. This small effort can set the tone for the rest of the home.
In living areas, remove toys, high chairs, and other distractions to help buyers focus on the home’s features. Furniture that serves as storage but adds to the clutter, like overflowing bookshelves or entertainment units, should also be addressed. Pack away video games, DVDs, and books, leaving only a few key pieces that give the room a spacious feel.
Decluttering extends to every corner. Surfaces, cupboards, and entryways should be cleared of excess items. Personal and pet belongings, such as food bowls, toys, and litter boxes, should be tucked away – especially during photo shoots. In the kitchen, remove magnets, notes, and reminders from the fridge, hide cleaning supplies, and ensure rubbish bins are out of sight. Bedrooms should also be free of distractions like airers, cables, and prescription bottles.
The results of your decluttering efforts will shine through in your photos. Rooms will look larger, brighter, and more inviting. By creating a blank canvas, you’re giving buyers the chance to imagine their own lives unfolding in the space.
Edit Photos with Software
Once you’ve optimised lighting and tidied up the space, the next step is refining your photos using editing software. This can help correct common issues like uneven lighting, awkward angles, and colour imbalances that often come up in real estate photography. The trick is knowing what to adjust and when to stop.
Today’s editing software comes packed with tools that can tackle most challenges. Many even feature AI-powered options that automatically fine-tune colours, exposure, and lighting – saving you hours of manual work.
The difference professional editing makes is hard to ignore. Listings with professionally edited photos often see a 47% boost in asking price per square metre. Plus, with 99% of homebuyers starting their search online and 83% prioritising images as a key feature, high-quality photos are non-negotiable.
Basic Editing Techniques
Start with the essentials. Cropping and straightening your images can remove distractions and ensure vertical lines stay true. Colour correction is another must – adjusting the white balance can fix unnatural tints caused by artificial lighting, like the yellowish glow from tungsten bulbs or the bluish hue from fluorescents.
Use editing tools to brighten shadows and recover details in overly bright areas, such as windows. Sliders for highlights and shadows can help balance these extremes, bringing out details that might otherwise be lost.
For more advanced edits, HDR merging is a game-changer. It combines multiple exposures into one balanced image, capturing details in both the brightest and darkest areas. Another useful technique is window masking, which balances the exposure between bright windows and darker interiors, avoiding blown-out highlights while keeping interior details intact.
When working on exterior shots, consider sky replacement. A dull, grey sky can make even the most appealing property seem lacklustre. Replacing it with a bright, inviting sky can instantly boost the photo’s mood.
Perspective correction is also key, especially if you’ve had to shoot from tricky angles or are dealing with distortion from wide-angle lenses. Adjusting lines and angles can make the property look more natural and appealing. These fine-tuned edits will complement your staging and lighting efforts, creating polished yet authentic visuals.
Once these basic adjustments are done, make sure to keep the property’s natural look intact. Over-editing can quickly cross the line from enhancement to misrepresentation.
Avoid Over-Editing
While basic corrections are essential, it’s important not to go overboard. The aim is to show the property in its best light by fixing minor flaws – not to create a version of it that doesn’t exist. Ethical editing focuses on enhancing what’s already there, rather than altering the image beyond recognition.
Stick to removing temporary distractions, like rubbish bins or parked cars, but avoid adding elements that don’t actually exist or changing the property’s core features. Buyers should feel confident that what they see in the photos matches what they’ll experience in person.
Transparency matters too. If you make major changes beyond basic tweaks, consider including disclaimers to maintain trust with potential buyers. Many MLS guidelines outline acceptable editing practices to ensure photos remain truthful.
Be cautious of tell-tale signs of over-editing, such as overly vivid colours, unnatural halos, or photos that look too flawless to be real. Remember, 68% of buyers say that excellent photos are a key factor in deciding to visit a home. If your edits stray too far from reality, you risk disappointing or alienating potential buyers.
sbb-itb-7b8b2a2
Improve Composition and Angles
Once you’ve fine-tuned your lighting and editing, the next step is to focus on composition and angles. These elements can transform your property photos from ordinary to eye-catching. The way you frame a shot can make a room feel spacious and inviting – or, if done poorly, cramped and unappealing. By carefully adjusting your camera position and composition, you can significantly influence how potential buyers perceive the property.
Good composition is all about balance. It highlights the home’s best features, emphasises space, and helps buyers imagine themselves living there. It’s about arranging the elements in your photo to tell the property’s story effectively. When paired with strong lighting and editing, these techniques create a cohesive and attractive visual experience.
The difference between amateur and professional property photos often lies in mastering these composition basics. When done well, they complement your lighting and editing efforts, creating images that truly resonate with buyers.
Techniques for Better Composition
- Set the right camera height: Position your camera at about 120cm (waist height) or align it with countertop lines. This height feels natural to viewers and avoids the awkward perspectives caused by shooting too high or too low.
- Use a wide-angle lens thoughtfully: A 16–35mm wide-angle lens on a full-frame camera is ideal for capturing depth and space, giving rooms a sense of openness. But don’t go wide just for the sake of it – each shot should have a clear purpose.
- Apply the rule of thirds: Imagine your frame divided into nine equal parts with two horizontal and two vertical lines. Place key elements along these lines or at their intersections to create visually appealing photos, rather than centring everything.
- Create depth: Make rooms feel three-dimensional by incorporating foreground, middle ground, and background elements. For interiors, shooting from a corner often adds dimension and makes spaces look larger.
- Use leading lines: Features like staircases, hallways, or architectural details can guide the viewer’s eye to key selling points, such as a stunning view or unique design element. These lines create a natural flow in your photos.
- Natural framing: Enhance focus and add depth by using doorways, windows, or archways to frame your subject. This technique gives viewers a sense of moving through the property while keeping their attention on the focal point.
- Highlight natural light: Position yourself to capture how light flows through the room. This builds on your lighting work, showcasing the bright and airy feel that buyers love.
- Capture three walls in kitchens: For kitchen shots, aim to include three walls in the frame. This approach provides a clear sense of the room’s size and layout, helping buyers understand the space better.
While these techniques elevate your photos, avoiding distortion is just as important to maintain authenticity.
Avoid Distortion
Wide-angle lenses are a staple in property photography, but misuse can lead to distorted, unrealistic images. This can mislead buyers and cause disappointment when they visit the property in person.
- Keep vertical lines straight: Crooked vertical lines can make walls look like they’re leaning, which signals unpolished photography. Use a tripod with a bubble level to ensure vertical lines remain straight.
- Avoid tunnel effects: Position yourself between two walls to maintain a natural perspective. This prevents the space from feeling unnaturally elongated or compressed.
- Step back and zoom in: If distortion occurs, move back and zoom in rather than getting too close. This reduces fish-eye effects that can warp a room’s appearance.
- Check horizontal lines: Ensure that horizontal features, like doorways or windows, stay parallel to the edges of your frame. Slanted lines distract from the photo and suggest technical errors.
- Watch for reflections: Reflective surfaces like mirrors, appliances, and glossy finishes can unintentionally capture your camera, tripod, or even you. Always double-check these surfaces and adjust your position as needed.
Ultimately, the goal is to present the property in a way that’s both attractive and accurate. Keeping distortion to a minimum ensures your photos build trust with potential buyers while showcasing the space effectively.
Hire Professional Services
Once you’ve refined lighting, composition, and editing, there’s still room to take your property’s presentation to the next level. While DIY methods can work wonders, there are moments when bringing in a professional photographer is the smarter choice – especially in competitive markets where standout visuals can mean the difference between a quick sale and a listing that lingers.
Professional photographers come equipped with both advanced tools and the kind of expertise that goes beyond what most DIY efforts can achieve. They excel at handling tricky lighting, highlighting unique architectural features, and presenting a property in its best light. This is particularly valuable for high-end properties in cities like Auckland or Wellington, where premium visuals can significantly impact buyer interest.
Benefits of Professional Photography
The numbers speak for themselves. Properties marketed with professional photography not only sell faster but often fetch higher prices, with sale prices ranging between NZ$934 and NZ$11,076 more compared to those using low-quality images. On platforms like Trade Me Property and realestate.co.nz, buyers spend about 60% of their viewing time on listing photos. For real estate agents, using professional photography can even double their gross commission income.
Professional photographers also provide specialised services that can further enhance a property’s appeal. For example, aerial photography can increase a home’s chances of selling by 52%, while listings featuring drone images are 65% more likely to attract in-person viewings. Twilight photography, on the other hand, can boost site clicks by nearly 8%. These added touches not only elevate the visual appeal but also draw in more potential buyers.
When to Consider Professionals
Professional photography isn’t just about aesthetics – it’s a strategic move that can deliver measurable results. For high-value properties, such as a NZ$2 million waterfront home in Auckland or a boutique apartment overlooking Wellington Harbour, professional images can highlight their premium qualities and secure higher sale prices. Basic photography packages typically start at around NZ$150, while more comprehensive options can range from NZ$200 to NZ$1,200.
In competitive markets, professional photography can make your listing stand out. When multiple similar properties are vying for attention, high-quality images can be the deciding factor for buyers. Properties with unusual layouts, limited natural light, or standout architectural features particularly benefit from a professional’s ability to use wide-angle lenses, balance lighting, and compose shots that make spaces feel more inviting.
If you’re considering drone photography, make sure to check the photographer’s experience, certifications, and insurance. In New Zealand, commercial drone operators must hold Civil Aviation Authority certification and appropriate insurance coverage.
Timing is also critical. Ensure the property is staged and presented at its best before the shoot. While photographers can work wonders, they can’t fix issues like clutter or poor staging. To maximise your property’s appeal, consider pairing photography with extras like floor plans, 3D video walkthroughs, or virtual staging. These additions create a comprehensive marketing package that ties together earlier efforts, ensuring a polished and professional presentation.
For agents handling premium listings, investing in professional photography is a strategic choice that can set you apart. Combining expert visuals with thoughtful staging and editing creates a compelling package that’s ready to impress potential buyers and deliver results.
Conclusion
Improving lacklustre property photos doesn’t have to be complicated or expensive. The six strategies outlined here can immediately enhance your listing’s appeal, complementing earlier techniques to ensure your property grabs attention in New Zealand’s competitive market.
The numbers speak for themselves: 89% of buyers consider photos a crucial part of their home search. Properties with professional photography sell up to 32% faster, and listings featuring high-quality photos receive 118% more online views. These improvements translate into more enquiries, more viewings, and ultimately, more sales.
"In our digital-first world, where listings are judged in seconds with a swipe or a click, professional real estate photography isn’t just a nice-to-have – it’s absolutely essential." – Andy Barker, Photographer
For real estate professionals, starting with practical and accessible solutions is a smart move. Virtual staging, for example, offers quick and budget-friendly results.
From a cosy Auckland apartment to a sprawling Christchurch family home, these strategies work across all property types and price ranges. The secret lies in consistency – combining multiple techniques creates a polished, cohesive visual presentation. This not only builds trust with potential buyers but also ensures your listings stand out in a crowded market. Together, these approaches create a compelling visual package that resonates with Kiwi buyers.
FAQs
What is the difference between virtual staging and traditional staging, and how can it help sell properties faster?
Virtual Staging: A Modern Solution for Real Estate
Virtual staging offers a sleek and efficient alternative to traditional staging methods. Instead of physically furnishing a property, this approach uses digital technology to design realistic and stylish interiors. It skips the hassle of moving furniture and can be completed in just a few days – often at a fraction of the cost of traditional staging.
For real estate professionals in New Zealand, virtual staging is a game-changer, particularly for empty or outdated properties. It helps potential buyers envision the possibilities of a space, making it feel more welcoming and functional. Professionally staged images can draw more attention to listings, speed up sales, and sometimes even result in higher offers – giving sellers an edge in a competitive market.
How can I use lighting and exposure to improve property photos for real estate listings?
To make property photos stand out, natural light is key. Aim to shoot during the early morning or late afternoon when the light is softer and more even. This timing helps minimise harsh shadows while showcasing the property’s best features. Steer clear of the midday sun, as its intensity can create unflattering contrasts.
When photographing interiors, aim for a balance between natural and artificial light. Use LED lights or flashes sparingly to brighten dim areas without losing the natural feel. Fine-tune your camera’s exposure settings – adjusting ISO, aperture, and shutter speed – to prevent images from being too bright or too dark. This approach ensures your photos are sharp, vibrant, and realistic, making it easier for potential buyers to picture themselves in the space.
Why is investing in professional photography important for selling properties, and how does it compare to taking your own photos?
Investing in professional photography can make a world of difference when it comes to selling properties. Quality images don’t just capture a home – they elevate it, showcasing its best features and creating a powerful first impression that draws in more potential buyers. This can lead to quicker sales and even higher offers, as professionally shot photos make listings more eye-catching and credible.
Unlike DIY photography, professional images bring expert composition, lighting, and editing into play, ensuring that every detail is presented in the best way possible. This doesn’t just enhance how the property is perceived; it also saves sellers time and energy. In a competitive real estate market, professional photography isn’t just an expense – it’s a smart move to stand out and achieve better results.